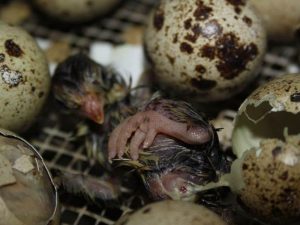
Hatching quail eggs at home can be a rewarding and exciting experience. Whether you’re starting a backyard flock or exploring a fun family project, our beginner’s guide will walk you through the process step by step.
Step 1: Choosing Your Eggs
Start with fresh, fertile quail eggs from a trusted source like Ashby Quail. Handle them carefully and store them in a cool, dry place until you’re ready to incubate.
Step 2: Setting Up the Incubator
Choose a reliable incubator and preheat it to a consistent temperature of 37.5°C (99.5°F). Ensure the humidity is maintained at around 45-55% to keep the eggs from drying out. Rotate the eggs three to five times a day if your incubator doesn’t do this automatically.
Step 3: Patience and Care
The incubation period for quail eggs is typically 17-18 days. Monitor the temperature and humidity daily to ensure a stable environment. Candling the eggs after 7-10 days will allow you to check for signs of development.
Step 4: Hatching Time
On day 15, stop turning the eggs and increase humidity to around 65-70% to help the chicks break through their shells. Once they hatch, leave them in the incubator for 24 hours to dry off and gain strength.
Step 5: Brooding Your Chicks
Transfer the chicks to a brooder with a heat source, such as a heat lamp, to keep them warm. Provide a shallow water dish and a high-quality starter feed for quail.
Hatching quail eggs is a fascinating journey that’s perfect for families, educators, and hobbyists. Visit Ashby Quail for high-quality hatching eggs and all the advice you need to get started.
